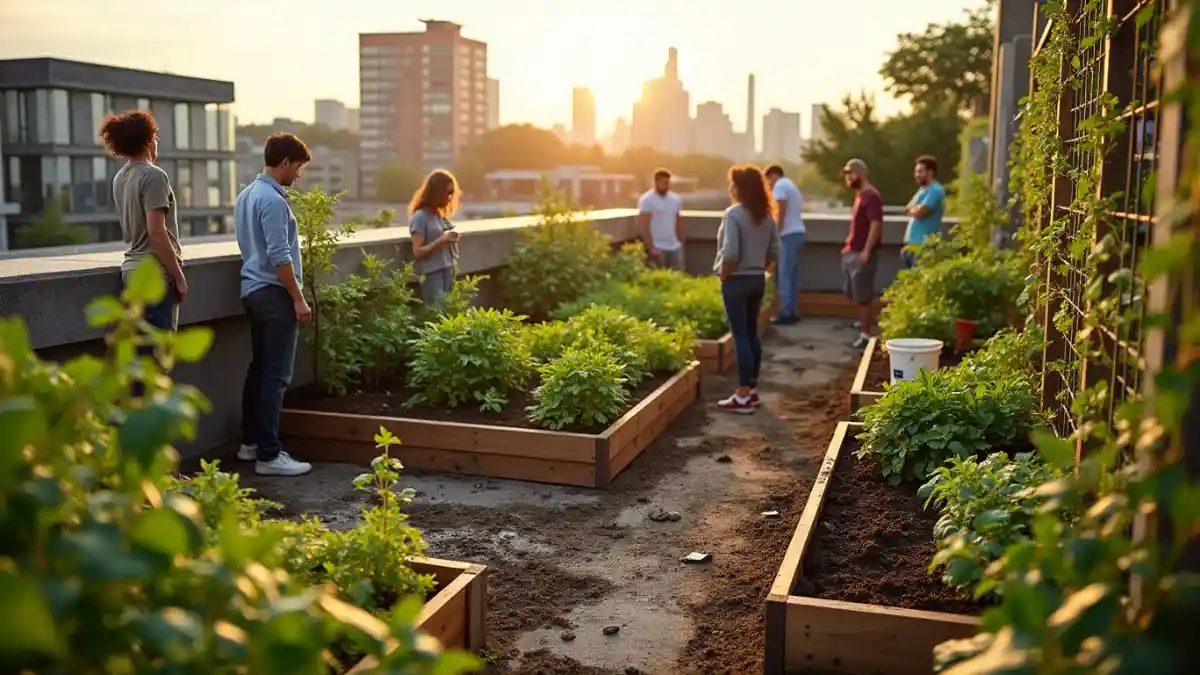
Imagine stepping onto your rooftop and being greeted by a lush, thriving farm—right in the heart of the city. Rooftop farm construction makes this dream a reality, offering fresh produce, sustainability, and a connection to nature. If you’ve ever thought about growing your own food but felt limited by urban living, you’re not alone. Many people assume farming requires acres of land, but with a little creativity, your rooftop can become a productive green space. In this article, we’ll walk you through 7 easy steps to start your rooftop farm construction, perfect for beginners. Whether you have a small rooftop or a sprawling terrace, these tips will help you grow fresh, organic produce right above your home.
Table of Contents
Why Build a Rooftop Farm?
Before diving into the steps, let’s explore why rooftop farm construction is worth your time and effort.
- Fresh, Local Produce: Grow your own fruits, vegetables, and herbs, ensuring they’re free from pesticides and chemicals.
- Sustainability: Reduce food miles and carbon footprint by producing food locally.
- Urban Heat Island Mitigation: Green roofs lower temperatures in cities, making them cooler and more livable.
- Community Building: Rooftop farms can bring neighbors together, fostering a sense of community.
- Increased Property Value: A green roof can enhance the aesthetic and value of your property.
For example, a rooftop farm in Brooklyn produces over 5,000 pounds of fresh produce annually, supplying local restaurants and residents. Plus, there’s nothing quite like the satisfaction of eating something you’ve grown yourself.
7 Easy Steps for Rooftop Farm Construction
1. Assess Your Rooftop’s Suitability
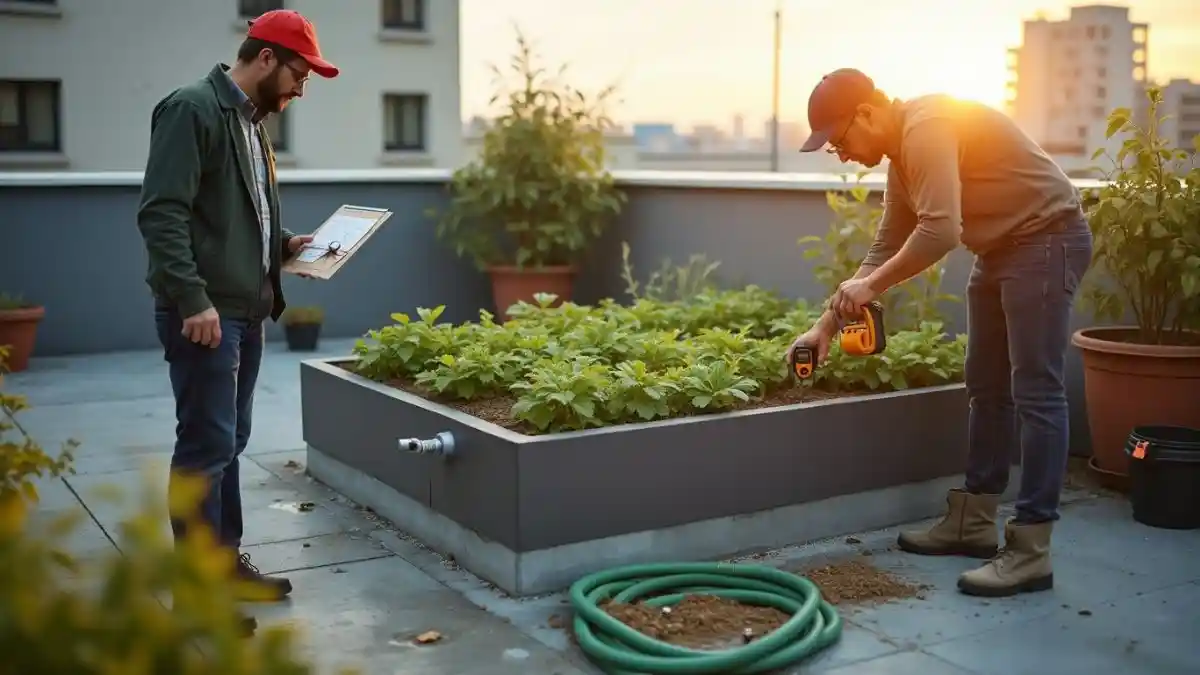
Before you start your rooftop farm construction, it’s essential to evaluate whether your rooftop is suitable for farming.
- Weight Capacity: Rooftops have weight limits, so ensure your roof can support the added weight of soil, plants, and water. Most residential roofs can handle 15-30 pounds per square foot, but commercial roofs may support more.
- Example: If you plan to use 5-gallon containers filled with soil, calculate the total weight per square foot to ensure it’s within your roof’s capacity.
- Pro Tip: Consult a structural engineer to assess your roof’s load-bearing capacity and safety.
- Sunlight Exposure: Most vegetables need at least 6 hours of sunlight daily. Observe your rooftop throughout the day to identify sunny and shaded areas.
- Example: A south-facing rooftop typically receives the most sunlight, making it ideal for sun-loving plants like tomatoes and peppers.
- Water Access: Confirm access to a water source for irrigation. If your rooftop doesn’t have a water connection, consider installing a rainwater harvesting system.
- Pro Tip: Use a hose or drip irrigation system to make watering easier and more efficient.
- Drainage: Ensure your roof has proper drainage to prevent water pooling, which can damage the structure and harm plants.
- Example: Install a sloped drainage system or use raised beds with built-in drainage holes.
2. Plan Your Farm Layout

A well-planned layout maximizes space and ensures your rooftop farm is functional and aesthetically pleasing.
- Space Allocation: Decide on the type of farming system you want to use.
- Containers: Ideal for small spaces and lightweight setups.
- Raised Beds: Perfect for larger rooftops with good weight capacity.
- Hydroponics/Aquaponics: Efficient and water-saving but requires more setup.
- Pathways: Include pathways for easy access and maintenance. Use materials like gravel or wooden planks to create walkways.
- Example: A 2-foot-wide pathway between raised beds allows you to move around comfortably while tending to your plants.
- Storage: Allocate space for tools, compost, and supplies. A small storage box or shelf can keep everything organized.
- Pro Tip: Use vertical space for storage by installing wall-mounted shelves or hooks.
Example: Use graph paper or design software to create a detailed layout. A 10×10 foot area can host multiple containers or a few raised beds, depending on your chosen system.
3. Choose the Right Growing System
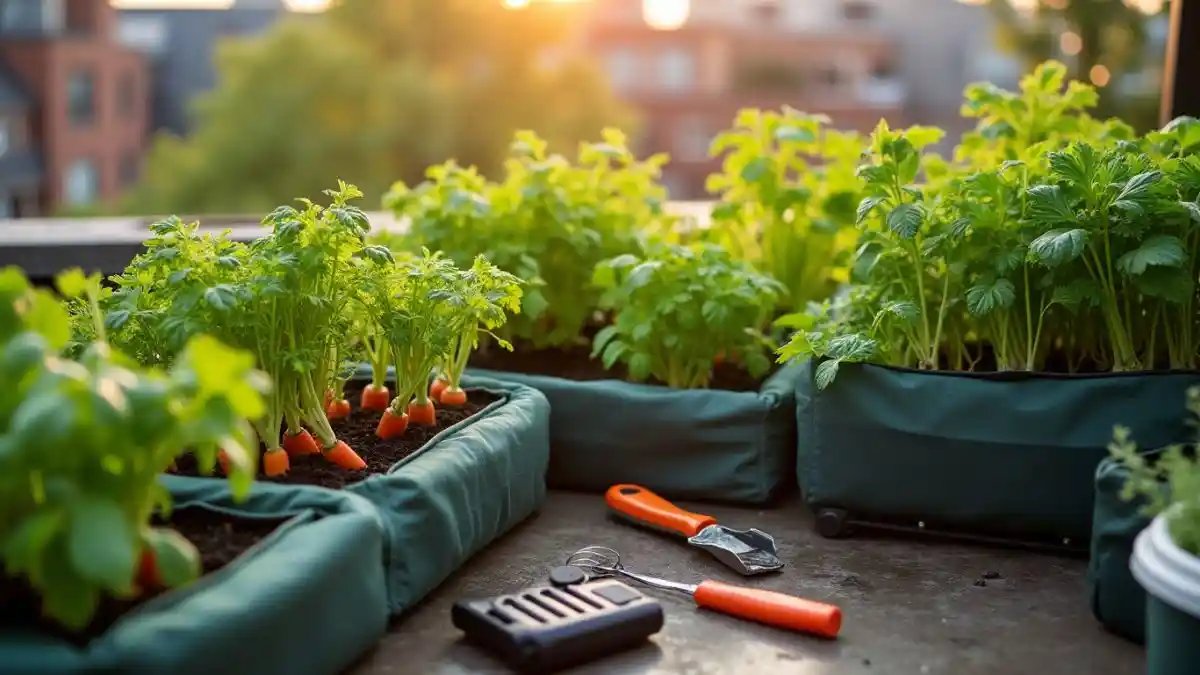
The growing system you choose will determine the success of your rooftop farm.
- Containers: Lightweight and versatile, containers are perfect for small spaces.
- Example: Fabric pots or plastic planters are easy to move and ideal for beginners.
- Pro Tip: Use self-watering containers to reduce maintenance.
- Raised Beds: Ideal for larger rooftops with good weight capacity.
- Example: A 4×8 foot raised bed can host a variety of vegetables like lettuce, carrots, and herbs.
- Pro Tip: Use cedar or recycled plastic for durability and weather resistance.
- Hydroponics/Aquaponics: These systems are water-efficient and space-saving but require more setup and maintenance.
- Example: A small hydroponic system with lettuce and herbs can yield fresh produce year-round.
- Pro Tip: Start with a simple hydroponic kit if you’re new to this method.
4. Select Suitable Plants
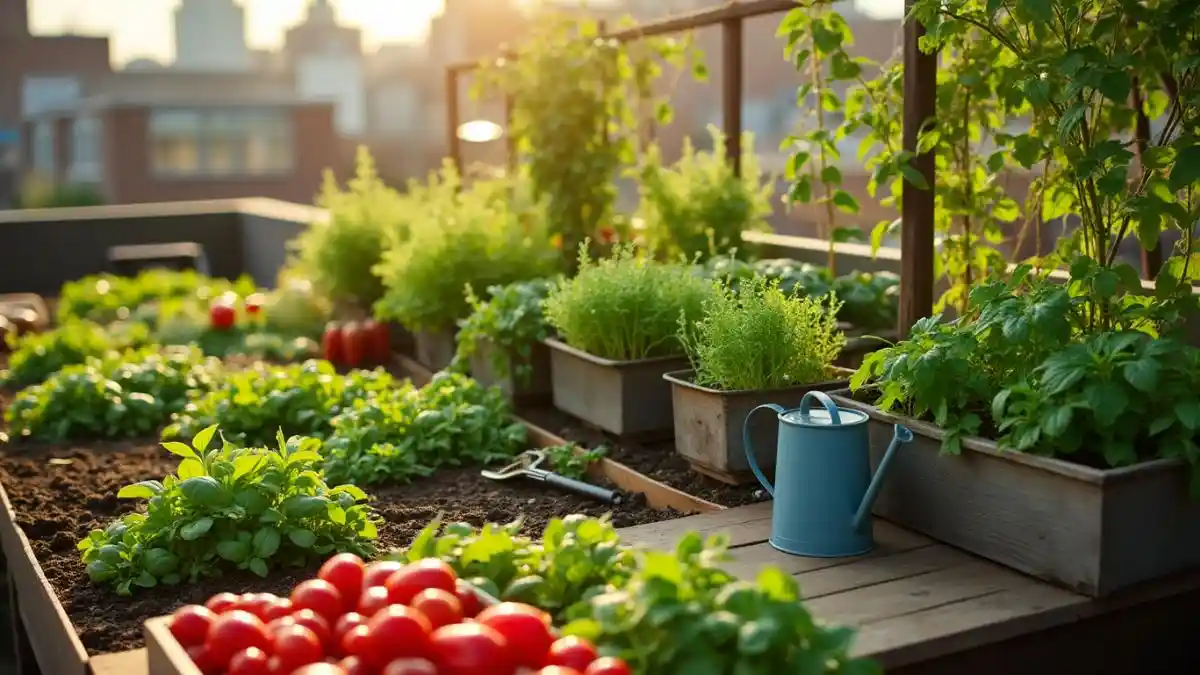
Choosing the right plants is crucial for a thriving rooftop farm.
- Climate Compatibility: Select plants that thrive in your local climate.
- Example: In hot climates, choose heat-tolerant plants like peppers and eggplants.
- Beginner-Friendly Crops: Start with easy-to-grow crops like lettuce, herbs, and cherry tomatoes.
- Example: Basil, parsley, and mint are low-maintenance and perfect for beginners.
- Seasonal Planting: Plan for cool-season and warm-season crops to maximize your harvest.
- Example: Grow spinach and kale in spring and fall, and tomatoes and cucumbers in summer.
Pro Tip: Use a planting calendar to track when to sow and harvest each crop.
5. Install Irrigation and Drainage Systems
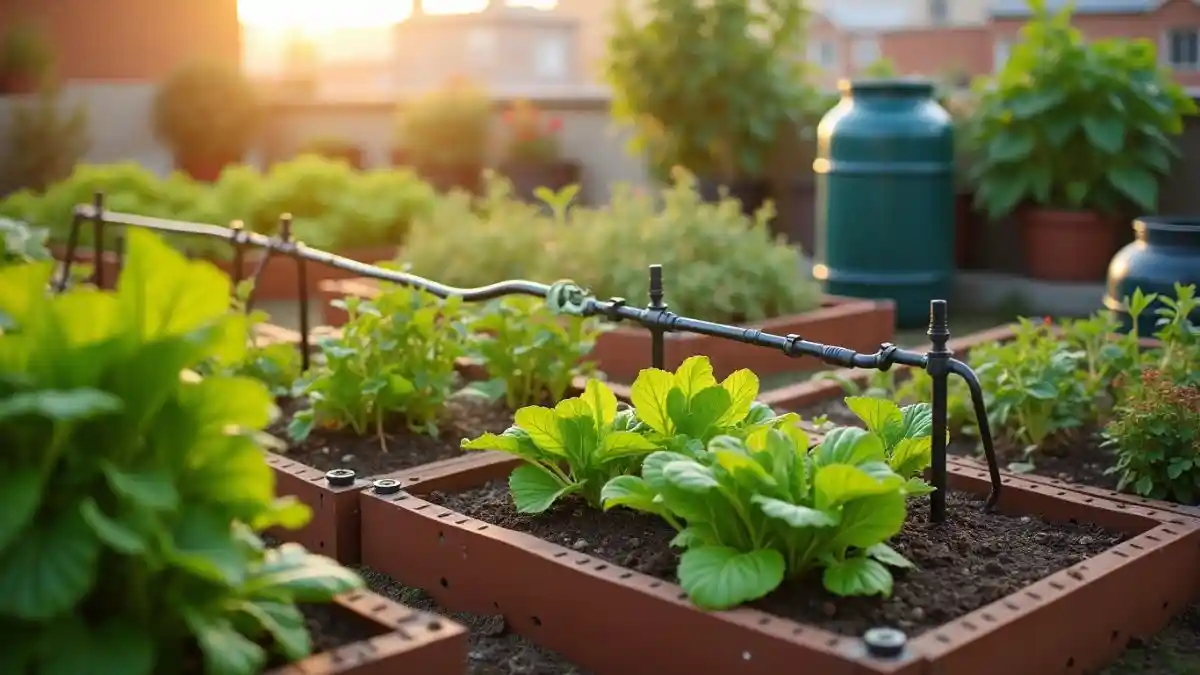
Proper irrigation and drainage are essential for rooftop farming.
- Drip Irrigation: Efficient and reduces water waste.
- Example: A drip irrigation system with a timer ensures your plants receive consistent moisture.
- Rainwater Harvesting: Gather and store rainwater for irrigation.
- Example: Install a rain barrel to capture runoff from your roof.
- Drainage: Ensure proper drainage to prevent waterlogging.
- Example: Use raised beds with drainage holes or install a sloped drainage system.
Pro Tip: Use mulch to retain soil moisture and reduce watering frequency.
6. Build and Set Up Your Farm
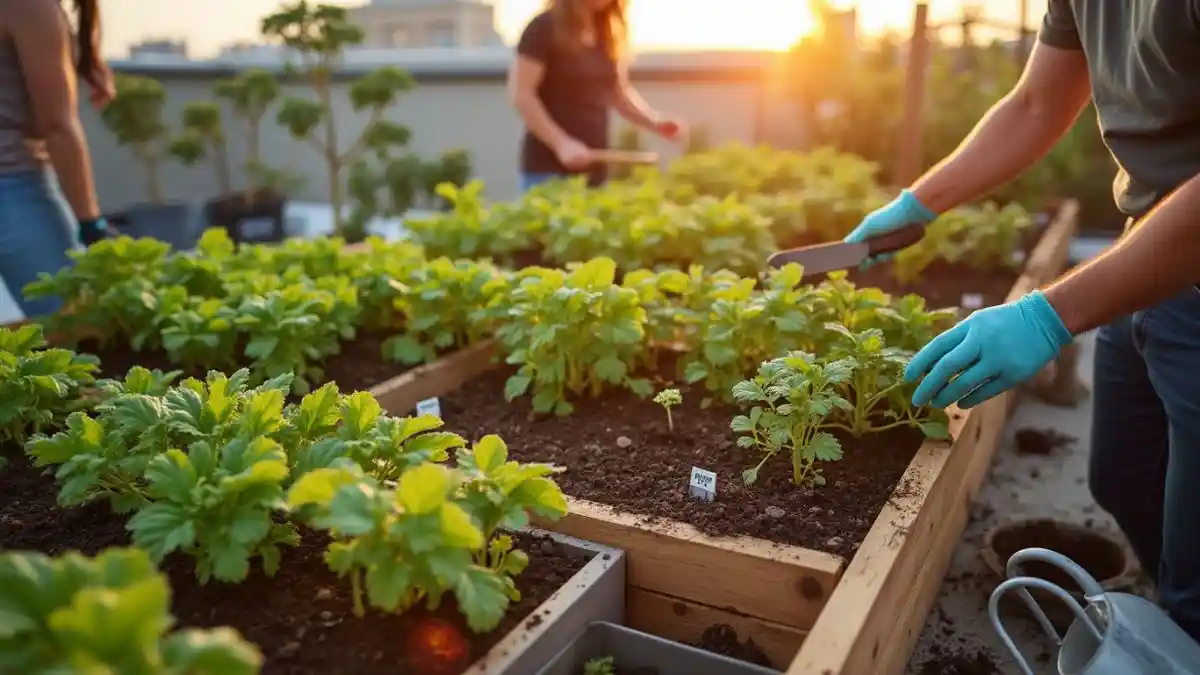
Now it’s time to bring your rooftop farm to life.
- Assemble Containers or Raised Beds: Use lightweight, durable materials.
- Example: Build a raised bed using cedar planks or purchase pre-made containers.
- Fill with Soil: Use high-quality soil or growing medium.
- Example: A mix of potting soil, compost, and perlite creates ideal growing conditions.
- Plant Seeds or Seedlings: Follow spacing guidelines for optimal growth.
- Example: Plant lettuce seeds 6 inches apart and tomato seedlings 2 feet apart.
Pro Tip: Label your plants to keep track of what’s growing where.
7. Maintain and Harvest Your Farm
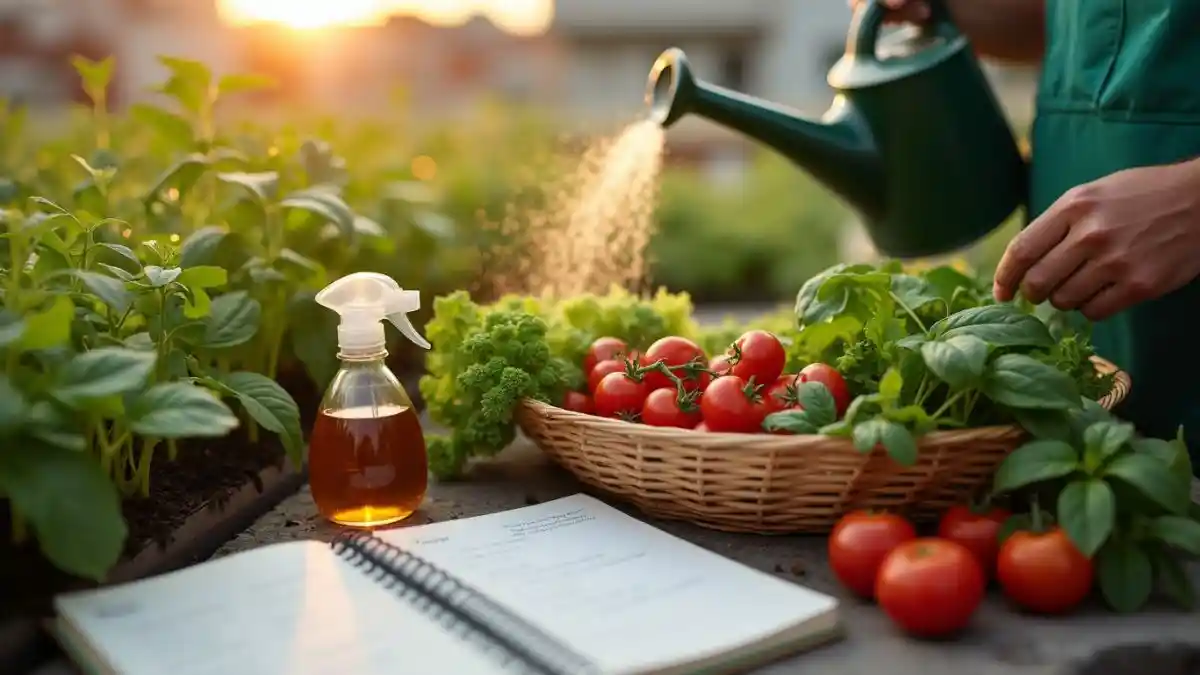
Regular care ensures a productive rooftop farm.
- Watering: Water regularly, especially during hot weather.
- Example: Check soil moisture daily and water when the top inch feels dry.
- Fertilizing: Apply organic fertilizers to nourish your plants.
- Example: Apply compost tea or worm castings every 2-4 weeks.
- Pest Control: Monitor for pests and use organic solutions like neem oil.
- Example: Spray neem oil on plants to deter aphids and spider mites.
- Harvesting: Pick crops at their peak for the best flavor and nutrition.
- Example: Harvest lettuce leaves as they grow and pick tomatoes when they’re fully ripe.
Pro Tip: Keep a gardening journal to track progress and learn from mistakes.
Tips for Successful Rooftop Farming
- Start Small: Begin with a few containers and expand as you gain experience.
- Use Lightweight Materials: Reduce strain on your roof with lightweight containers and soil mixes.
- Join Communities: Connect with local urban farming groups for support and inspiration.
Example: A rooftop farm in Chicago started with just 10 containers and now produces enough food for 20 families.
Common Challenges and Solutions
- Weight Limits: Use lightweight containers and soil mixes.
- Wind Exposure: Install windbreaks or choose wind-resistant plants.
- Water Access: Install a rainwater harvesting system or use self-watering planters.
- Pests: Use organic pest control methods like neem oil or companion planting.
Example: A rooftop farm in San Francisco uses windbreaks made of bamboo to protect plants.
Seasonal Guide for Rooftop Farming
- Spring: Start cool-season crops like lettuce, spinach, and peas.
- Summer: Grow heat-loving plants like tomatoes, peppers, and cucumbers.
- Fall: Plant quick-growing veggies like radishes and greens.
- Winter: Use season extenders like cloches or cold frames for cold-hardy plants.
Example: A winter planter with kale and Swiss chard provides fresh greens even in colder months.
Frequently Asked Questions (FAQ)
What is rooftop farm construction?
Rooftop farm construction involves building a farm on a rooftop, using containers, raised beds, or hydroponic systems.
How much does it cost to build a rooftop farm?
Costs vary based on size and system, but a small container-based farm can start at $500.
Can I grow vegetables on my rooftop?
Yes! Vegetables like lettuce, tomatoes, and peppers thrive in rooftop farms with proper care.
Do I need a permit for rooftop farm construction?
Check local regulations. Some cities require permits for rooftop structures or water systems.
How do I protect my rooftop farm from wind?
Use windbreaks like trellises, screens, or tall plants to shield your farm.
What are the best plants for rooftop farming?
Start with easy-to-grow crops like herbs, lettuce, and cherry tomatoes.
How do I water my rooftop farm?
Use drip irrigation or self-watering systems for efficient water use.
Can I use hydroponics for rooftop farming?
Yes, hydroponics is a great option for water-efficient rooftop farming.
How do I ensure my roof can support a farm?
Consult a structural engineer to assess weight capacity and safety.
What are the benefits of rooftop farming?
Rooftop farming provides fresh produce, reduces urban heat, and promotes sustainability.
Conclusion: Start Your Rooftop Farm Construction Today
Creating a rooftop farm is easier than you think. By following these 7 easy steps, you can transform your rooftop into a productive, green oasis. Whether you’re growing herbs for your kitchen or tomatoes for your salads, the rewards are endless.
Call-to-Action: Ready to get started? Pick up a few containers, some potting mix, and your favorite seeds, and begin your rooftop farming journey today. Your fresh, homegrown produce is just a few steps away


