Growing your own rosemary is not only rewarding but also a fantastic way to ensure you have a fresh, organic supply of this versatile herb right at your fingertips. Whether you’re a seasoned gardener or a beginner, this guide will walk you through everything you need to know about propagating rosemary. From selecting the appropriate variety to harvesting and preserving your crop, we’ve got everything covered for you. Let’s dive in!
Table of Contents
Understanding Rosemary Basics
Before you start propagating rosemary, it’s essential to understand the basics. Rosemary, scientifically known as Rosmarinus officinalis, is a perennial herb that thrives in warm, sunny climates. It’s a hardy plant that requires well-draining soil and moderate watering.
Key Requirements for Propagating Rosemary
- Climate: Rosemary prefers temperatures between 60°F and 80°F (15°C to 27°C).
- Soil: Well-draining, sandy soil is ideal.
- Sunlight: Full sunlight (6-8 hours daily) is best.
- Watering: Maintain slightly dry soil and steer clear of overwatering.
If your area has a colder climate, there’s no need to be concerned! You can still grow rosemary in a pot indoors.
Choosing the Right Rosemary Variety

Not all rosemary varieties are the same. Some are better suited for culinary use, while others are prized for their ornamental or medicinal properties. Here’s a brief guide to assist you in selecting the appropriate variety for your requirements:
Popular Rosemary Varieties
| Variety | Climate Suitability | Best Use | Growth Habit |
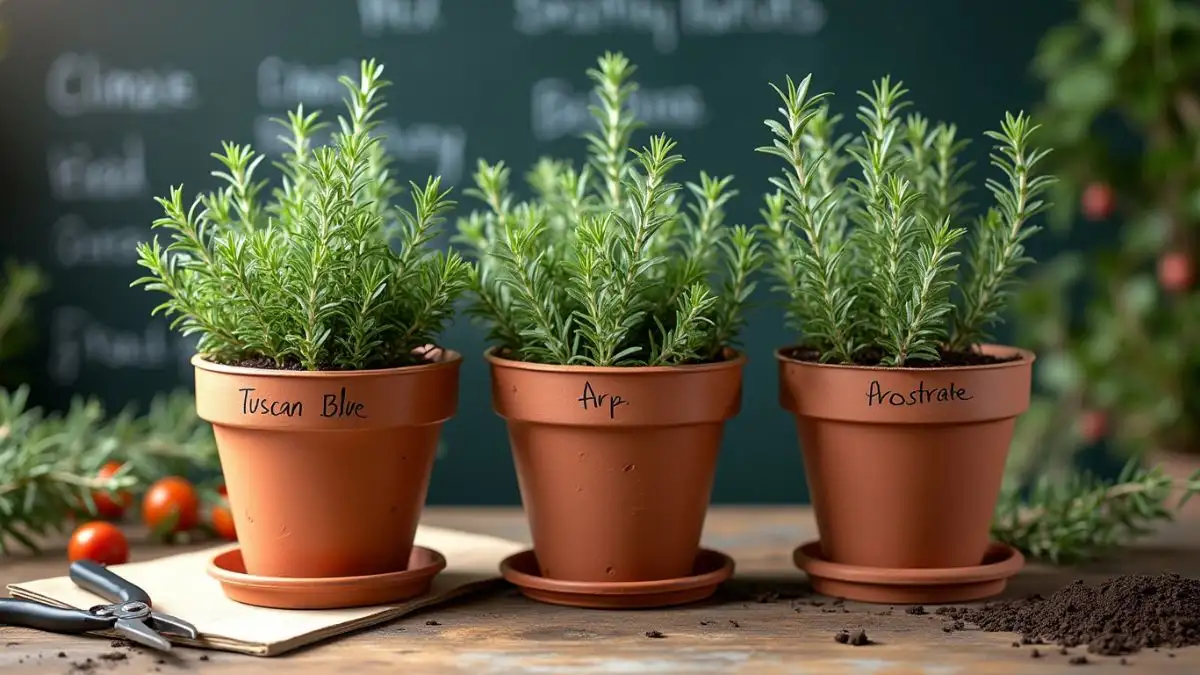
| Tuscan Blue | Warm Temperate | Culinary | Upright |
| Arp | Cold Hardy | Culinary/Ornamental | Upright |
| Prostrate | Warm Temperate | Ground Cover | Trailing |
For instance, if you’re cultivating rosemary for culinary purposes, the Tuscan Blue variety is a fantastic option. On the other hand, if you’re interested in its ornamental appeal, Prostrate rosemary might be more suitable.
Step-by-Step Guide to Propagating Rosemary

Now that you’ve chosen your rosemary variety, it’s time to get your hands dirty! Here’s a step-by-step guide to how to propagate rosemary:
1. Selecting Cuttings
Select robust, non-flowering stems from an established rosemary plant. Look for stems that are about 4-6 inches long and have no signs of disease or pests.
2. Preparing the Cuttings
Trim the stems to 4-6 inches and remove the lower leaves. This will encourage the cuttings to concentrate their energy on developing roots.
3. Rooting Medium
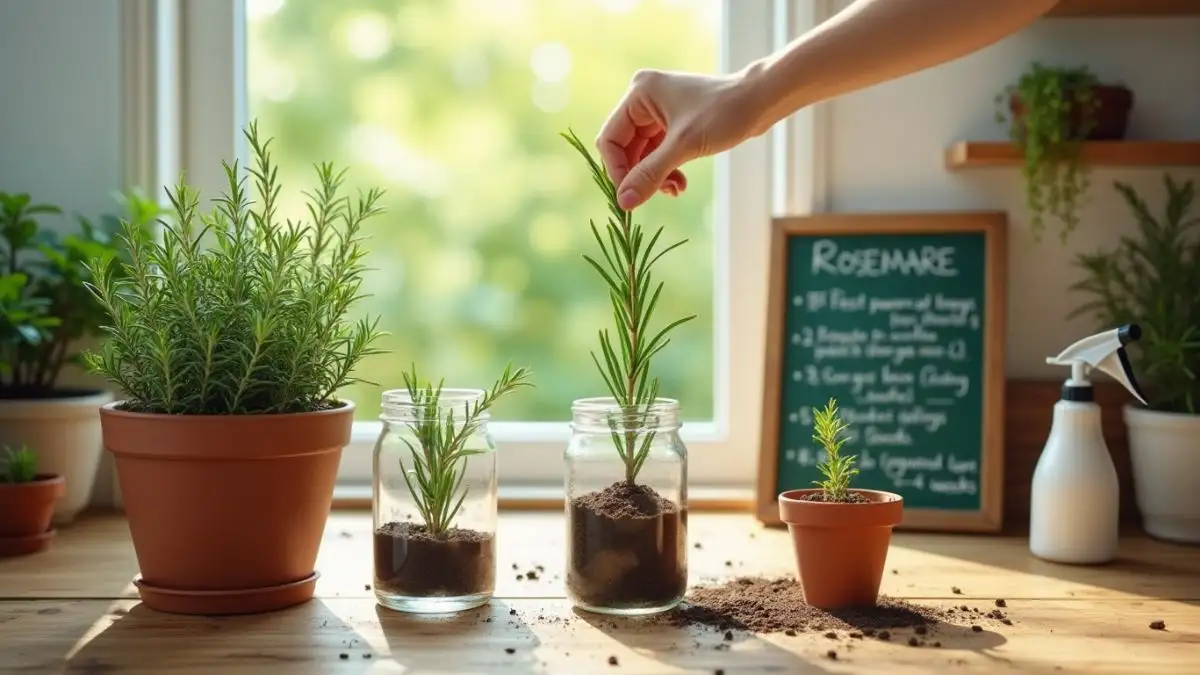
Rosemary cuttings can be rooted in both soil and water. If using soil, make sure it’s well-draining. If rooting in water, refresh the water every few days to prevent it from becoming stagnant.
4. Planting the Cuttings
Insert the cuttings into the soil or place them in water. If using soil, plant the cuttings about 2 inches deep.
5. Caring for the Cuttings
Keep the soil moist (or change water regularly) and provide indirect sunlight. Within approximately 4 to 6 weeks, roots should begin to develop.
Caring for Your Propagated Rosemary

Cultivating rosemary is fairly low-maintenance, though it needs some attention to flourish.Here are some essential tips:
Watering
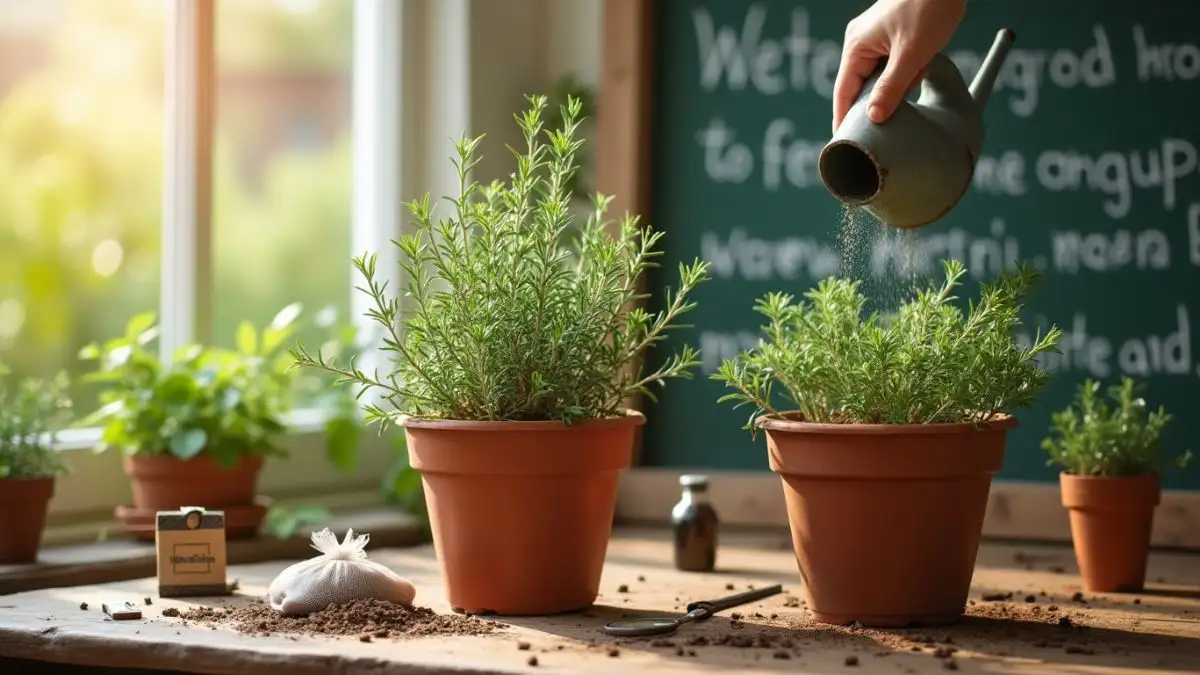
Rosemary prefers slightly dry conditions; avoid overwatering. Water the plant when the top inch of soil feels dry.
Fertilizing
Apply a balanced, organic fertilizer monthly throughout the growing season. This will provide the nutrients your rosemary needs to grow strong and healthy.
Pest Control
Watch for spider mites and aphids. If you spot any, treat them naturally with neem oil.
Sunlight
Rosemary thrives in full sun. If you’re growing rosemary in a pot indoors, place it near a window with indirect sunlight.
Transplanting and Harvesting Rosemary

After 8 to 10 months, your rosemary will be prepared for harvesting. Here’s how to do it:
Signs Your Rosemary is Ready
- The leaves turn yellow and dry.
- The plant stops growing.
Harvesting Process
- Carefully unearth the rhizomes with the help of a garden fork.
- Remove the soil and rinse the rhizomes thoroughly.
- Let them dry in a shaded, cool spot for several days.
Storing Rosemary
- Fresh: Keep in the fridge for a maximum of two weeks.
- Dried: Crush into powder and keep in a sealed container.
- Frozen: Freeze whole rhizomes for up to 6 months.
Common Problems and Solutions in Rosemary Propagation
Despite providing excellent care, you could still face some challenges. Here’s how to troubleshoot common problems:
Yellowing Leaves
This might indicate either overwatering or a lack of nutrients. Monitor the soil’s moisture level and apply organic fertilizer if necessary.
Stunted Growth
Ensure your rosemary plants have enough space and sunlight. Crowded plants can lead to stunted growth.
Pest Infestations
Spider mites and aphids are common pests. Apply neem oil or bring in helpful insects such as ladybugs to manage them.
Benefits of Growing Your Own Rosemary
Why go through the trouble of growing rosemary at home? Here are some compelling reasons:
Health Benefits
Rosemary is packed with antioxidants and has anti-inflammatory properties.
Cost-Effective
Growing your own rosemary is cheaper than buying organic rosemary from the store.
Environmental Benefits
By growing your own herbs, you reduce your carbon footprint and contribute to a healthier planet.
Creative Uses for Homegrown Rosemary
Rosemary isn’t just for cooking! Here are some creative ways to use your homegrown rosemary:
Rosemary-Infused Olive Oil
- Ingredients: Rosemary sprigs, olive oil.
- Instructions: Infuse oil with rosemary for 2 weeks.
Rosemary and Sea Salt Scrub
- Ingredients: Rosemary, sea salt, coconut oil.
- Instructions: Mix ingredients and use as a scrub.
Rosemary Smudge Sticks
- Ingredients: Rosemary stems, twine.
- Instructions: Bundle stems and dry for 2 weeks.
Companion Planting with Rosemary
Companion planting can enhance your rosemary’s growth and protect it from pests. Here are some ideal companion plants:
Sage
Sage and rosemary thrive under similar conditions, making them suitable for companion planting.
Thyme
Thyme acts as a natural pest repellent.
Lavender
Lavender deters pests and improves soil health.
Rosemary in Different Climates
Rosemary can be grown in various climates with a few adjustments:
Mediterranean Climates
Rosemary thrives in Mediterranean climates with minimal adjustments.
Subtropical Climates
Offer partial shade and apply a thick layer of mulch to conserve moisture.
Temperate Climates
Cultivate rosemary in indoor pots or greenhouses to keep the environment warm.
Conclusion: Start Your Rosemary Propagation Journey Today
Growing rosemary is a rewarding experience that connects you to nature and your kitchen. With these 5 easy steps, you’ll be well on your way to cultivating your own fresh, organic rosemary. So, what are you waiting for? Start your rosemary propagation journey today and enjoy the countless benefits of this incredible herb!
FAQ Section
1. When is the optimal time to propagate rosemary?
Propagate rosemary in spring or early summer for the best results.
2. Can I propagate rosemary in water?
Yes, rosemary can be propagated in water, but soil propagation often yields stronger roots.
3. How much time is needed for rosemary cuttings to develop roots?
Rosemary cuttings typically root in 4-6 weeks.
4. What are the common pests in rosemary propagation?
Spider mites and aphids are frequent pests; manage them with neem oil.
5. Can I use store-bought rosemary for propagation?
Yes, but ensure it’s fresh and healthy.
6. How often should I water propagated rosemary?
Water the plant when the top inch of soil feels dry.
7. What kind of soil is ideal for rosemary?
Well-draining, sandy soil is ideal.
8. Can rosemary grow indoors?
Yes, rosemary can be grown indoors with adequate sunlight.
9. How do I know when my rosemary cuttings are ready to transplant?
Transplant when the cuttings have strong roots and new growth.
10. What are the health benefits of rosemary?
Rosemary is abundant in antioxidants and possesses anti-inflammatory benefits.
11. Can I grow rosemary from seeds?
Yes, but propagation from cuttings is faster and more reliable.
12. What is the best fertilizer for rosemary?
Organic options such as compost or worm castings are perfect.
13. How do I prevent pests in my rosemary plants?
Apply neem oil or bring in helpful insects such as ladybugs.
14. Can rosemary be grown hydroponically?
Yes, rosemary can be grown hydroponically with the right setup and nutrients.
15. What are the signs of overwatering rosemary plants?
Yellowing leaves and root rot often indicate overwatering.


