Introduction: Declutter Your Shed, Simplify Your Life
Do you feel overwhelmed every time you step into your garden shed? Tools scattered everywhere, no clear organization system—it’s enough to make anyone avoid gardening altogether. But what if there was a simple solution to this chaos?
With a well-designed garden tool rack, you can transform your shed into a tidy, efficient space. In this article, we’ll share five brilliant hacks for organizing your tools, ensuring that your shed becomes a space of order and functionality. Let’s dive into these smart solutions!
Table of Contents
Hack 1: Upcycled Garden Tool Rack from Everyday Items
Revolutionize Your Storage with Creative Upcycling
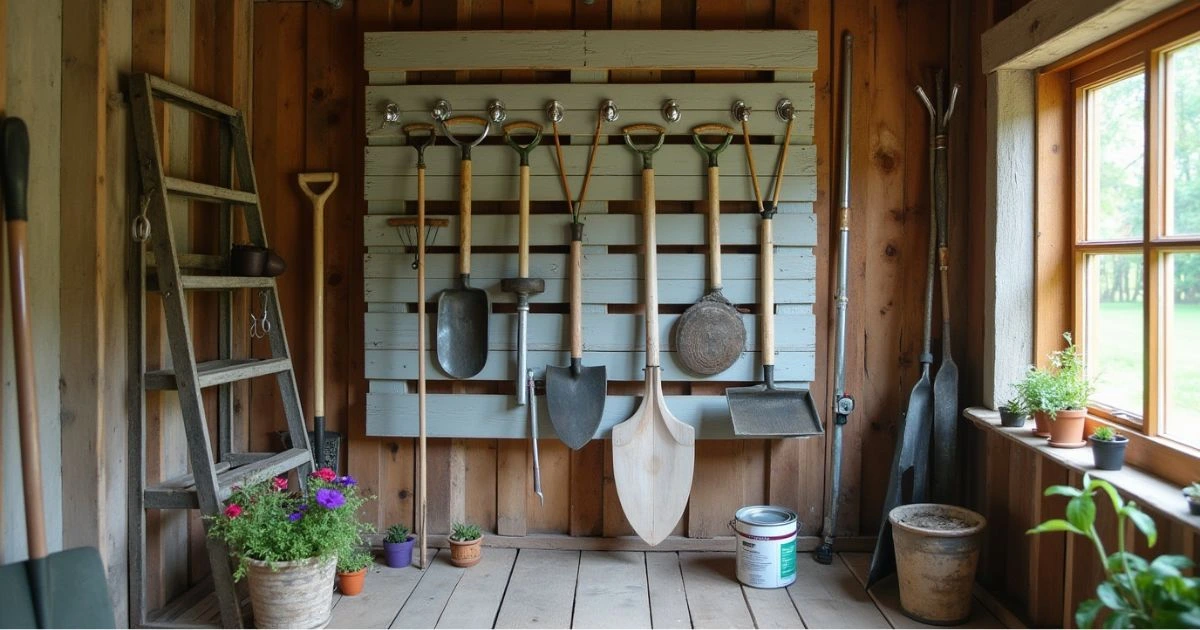
Old items in your home can become the perfect garden equipment organizer. A wooden pallet, ladder, or even a chair can be repurposed into a tool rack. Not only does this reduce waste, but it also adds a rustic charm to your shed.
How to Do It:
- Attach hooks or nails to the pallet or chair.
- Mount it securely on the wall or place it upright.
- Add paint or stain for durability and style.
Why It Works: Using upcycled items saves money and reduces environmental impact. Plus, these racks are highly customizable, allowing you to tailor them to your specific tool collection. For example, an old ladder can store long-handled tools like rakes and hoes, while a wooden pallet can hold smaller items like hand trowels and pruning shears.
Example Table: Tools and Materials for an Upcycled Tool Rack
| Material | Estimated Cost | Source |
| Wooden pallet | $0-$10 | Recyclers/DIY shop |
| Nails/hooks | $5-$15 | Hardware store |
| Paint or stain | $10-$20 | Hardware store |
Additional Tip: To make your upcycled rack weather-resistant, apply a protective coating. This ensures durability if you decide to use it outdoors.
Hack 2: Wall-Mounted Garden Tool Rack
Save Floor Space and Keep Tools Accessible
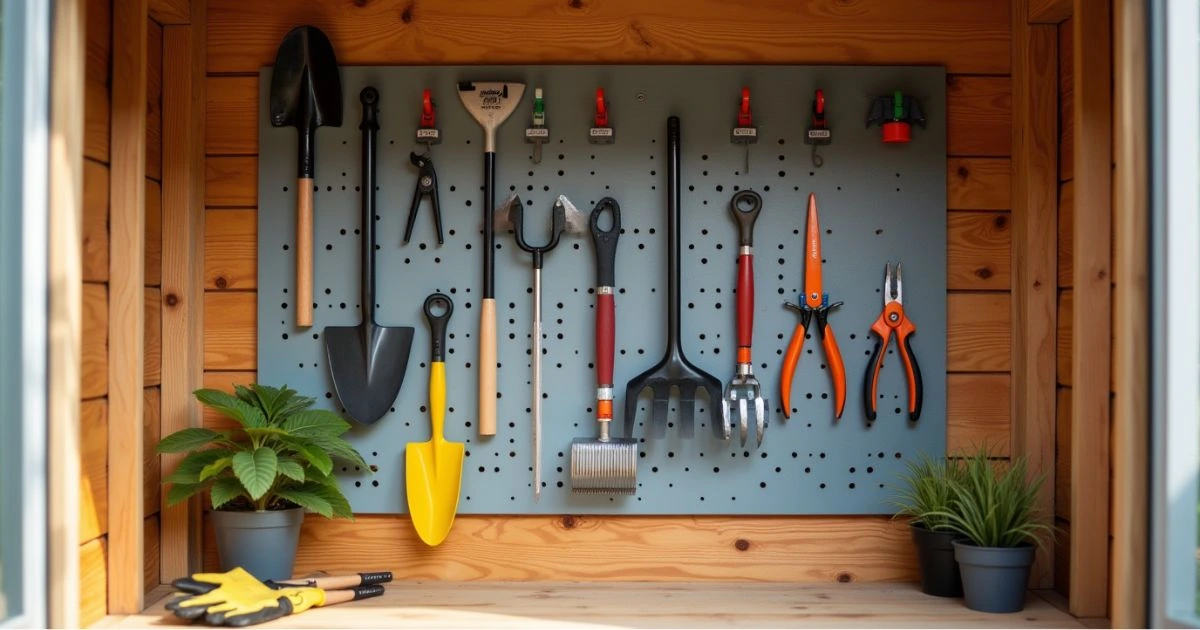
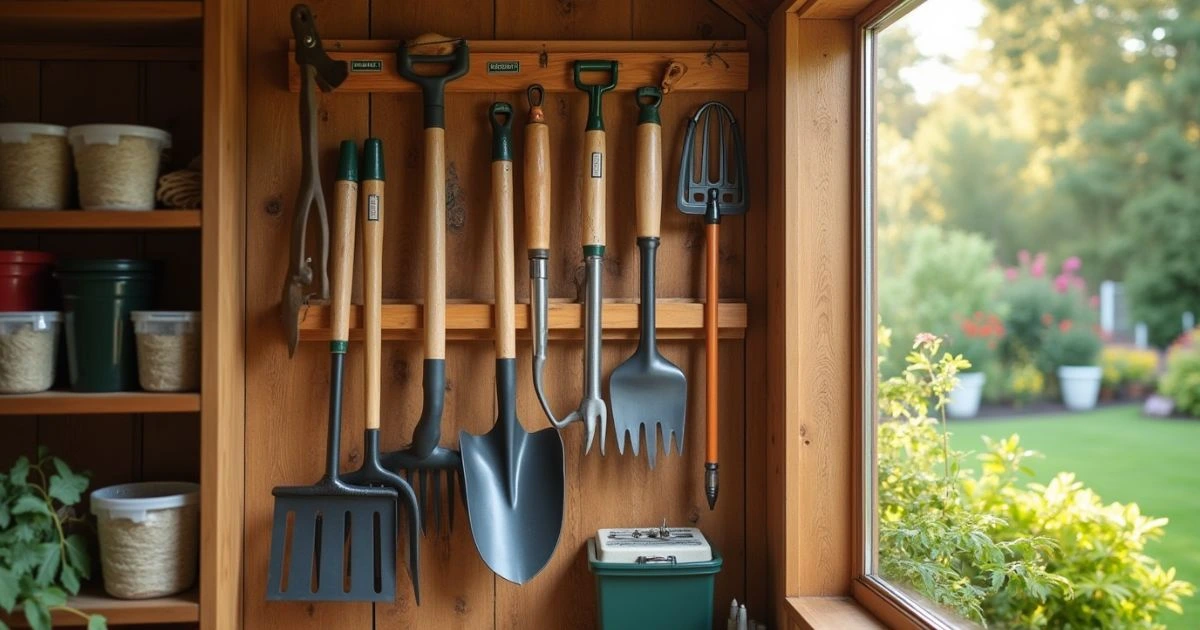
A wall-mounted garden tool rack is perfect for small sheds where floor space is at a premium. It’s easy to install and keeps your tools within reach.
Key Benefits:
- Adjustable hooks for tools of various sizes.
- Keeps tools off the ground, reducing clutter.
- Pegboards can add versatility and style.
Pro Tip: Position your rack near the shed entrance for quick access. You can also use color-coded hooks or labels to make finding your tools even easier.
Step-by-Step Installation Guide:
- Choose a sturdy wall area free of obstructions.
- Mark the positions for screws or brackets.
- Drill holes and install brackets securely.
- Attach the rack or pegboard and add hooks.
Why Choose This Hack? Wall-mounted racks not only save space but also make your tools more accessible, saving you time during gardening sessions. Whether you have a modest collection or a full array of gardening tools, this hack ensures everything has its place.
Hack 3: Magnetic Strip for Small Tools
Keep Small Tools Within Arm’s Reach
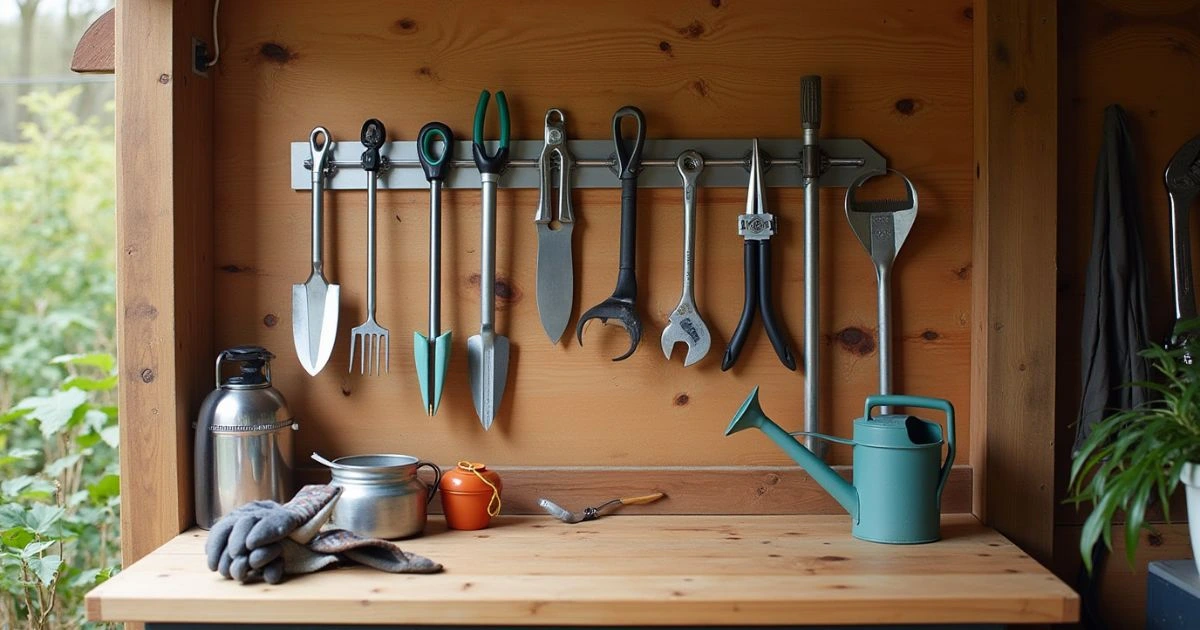
Small tools often get lost in the shuffle. A magnetic strip can act as a convenient garden equipment storage solution for these items.
Steps to Install:
- Purchase a heavy-duty magnetic strip.
- Mount it on the wall or your tool rack.
- Attach metal tools like scissors, pruners, or wrenches.
Benefits of a Magnetic Strip:
- Eliminates the need for drawers or bins for small tools.
- Keeps tools visible and accessible.
- Saves time spent searching for misplaced items.
List of Tools for Magnetic Strip Storage:
- Pruning shears
- Hand trowels
- Wrenches
- Garden scissors
Additional Uses: Magnetic strips can also hold screws, nails, or other small metallic gardening accessories. This ensures that even the tiniest items have a designated spot.
Hack 4: Customizable DIY Garden Tool Rack
Personalize Your Storage for Maximum Efficiency
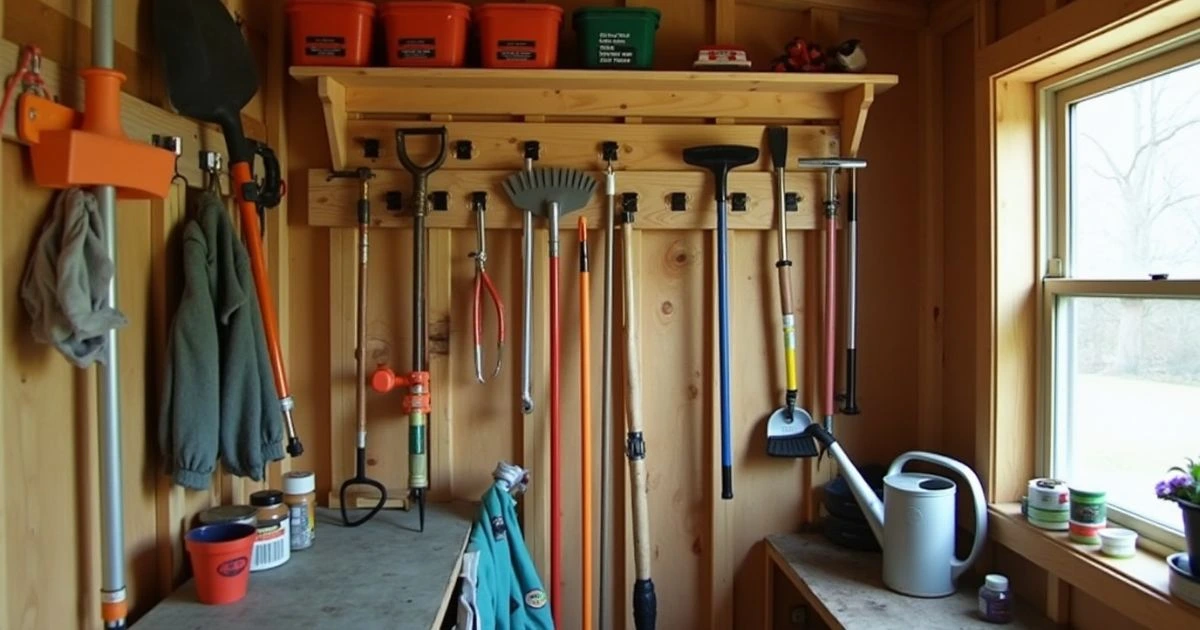
Building your own DIY yard tool rack gives you the flexibility to design a solution that fits your needs. It’s a fulfilling project that can be customized to fit your tools and available shed space.
Step-by-Step Guide:
- Assess Your Space: Begin by measuring the dimensions of your shed.
- Gather Materials: Use wood, screws, and brackets to create your rack.
- Build and Install: Assemble the rack and secure it to a wall.
- Add Personal Touches: Label compartments or paint the rack to match your style.
Design Ideas:
- Add adjustable shelves for versatile storage.
- Create separate sections for long-handled tools and smaller hand tools.
- Use hooks and bins to further organize your space.
Why It’s Worth the Effort: A DIY rack ensures that every inch of your storage area is used efficiently. It’s a cost-effective solution that grows with your gardening needs.
Hack 5: Portable Garden Tool Rack
Organize on the Go
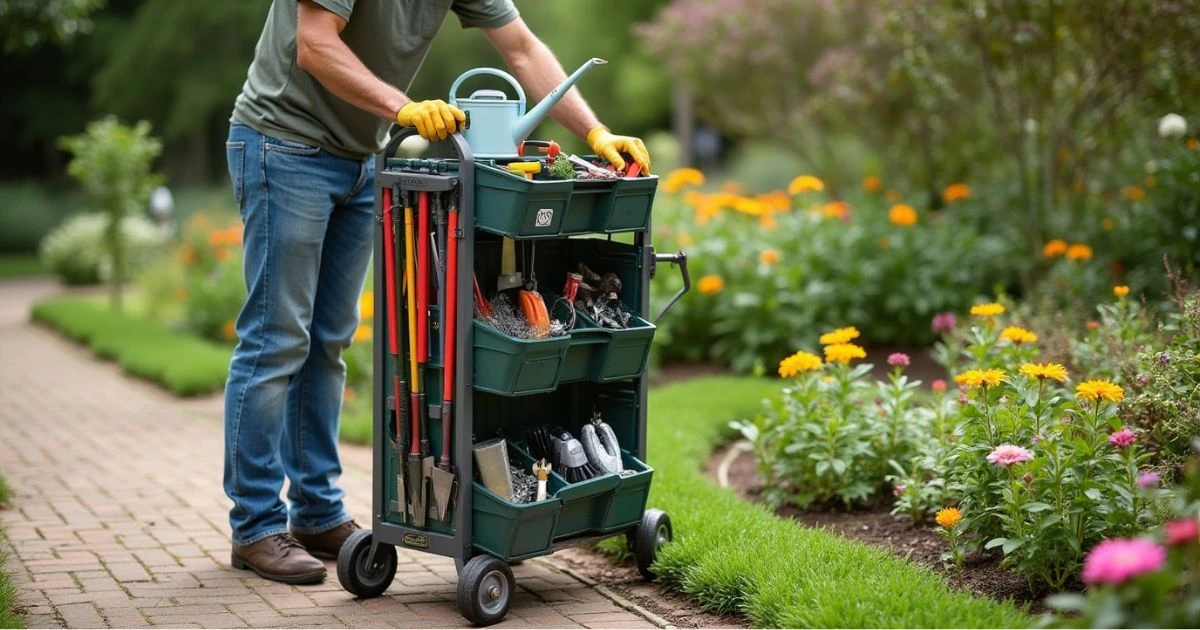
For larger gardens or professional gardeners, a portable garden equipment organizer is a game-changer. Rolling carts or wheeled racks allow you to move your tools where you need them.
What to Look For:
- Sturdy wheels for easy mobility.
- Compartments for organizing different tools.
- Weather-resistant materials for durability.
Advantages of Portability:
- Saves time and energy by reducing trips back to the shed.
- Keeps tools organized even in larger gardening spaces.
- Allows you to bring tools closer to the task at hand.
Pro Tip: A portable rack can double as storage for yard tools when not in use. Look for foldable options if you have limited storage space.
Essential Tools Every Gardener Should Have
Equip Your Shed for Success
To make the most of your garden tool rack, it’s crucial to stock your shed with essential tools. Having the right equipment not only simplifies your gardening tasks but also ensures better results.
Must-Have Tools:
- Long-handled tools: Rakes, hoes, and shovels
- Hand tools: Trowels, pruners, and garden scissors
- Specialty tools: Weeders, bulb planters, and loppers
Why This Matters: Organizing these essentials on your rack keeps them easily accessible and prolongs their lifespan. With your tools neatly arranged, you’ll spend less time searching and more time gardening.
Creative DIY Storage Solutions for Small Sheds
Maximize Space in Compact Areas
If you’re working with a small shed, innovative storage ideas for yard tools can make all the difference. With a little creativity, even the tiniest spaces can become functional and organized.
Ideas to Try:
- Vertical storage racks to use wall space effectively
- Sliding shelves for easy access to hidden items
- Ceiling-mounted hooks for lightweight tools
Quick Tip: Opt for foldable racks or collapsible bins to save space when not in use. These solutions are perfect for gardeners with limited storage.
Safety Tips for Organizing Garden Tools
Keep Your Shed Safe and Functional
A well-organized shed isn’t just visually appealing—it’s also safer to use. Proper storage minimizes risks and ensures that your tools are always in good condition.
Top Safety Tips:
- Store sharp tools on hooks or magnetic strips to prevent accidents.
- Use child-proof locks if your shed is accessible to kids.
- Regularly inspect your rack and tools for wear and tear.
Why This Matters: An organized shed is a safer shed. By following these tips, you’ll protect yourself and others while maintaining a functional workspace.
Bonus Tips for Maintaining Your Garden Tool Rack
Once you’ve set up your garden tool rack, maintenance is key to keeping it functional and organized. Here are a few tips:
- Regular Cleaning: Wipe down your rack and tools to remove dirt and prevent rust.
- Inspect Hooks and Mounts: Ensure that hooks and mounts remain secure over time.
- Seasonal Organization: Rearrange tools based on seasonal needs, such as pruning shears in spring and rakes in autumn.
- Label Everything: Use labels to quickly identify tools and their designated spots.
Conclusion: Transform Your Gardening Experience
By implementing these five hacks, you can create the ultimate garden tool rack, ensuring your shed is tidy and efficient. A well-organized space saves time, reduces stress, and makes gardening a joy. Whether you upcycle old materials, build a DIY solution, or invest in a portable rack, these ideas will help you take control of your gardening tools. Start today and experience the satisfaction of a perfectly organized shed!
FAQ: Garden Tool Rack
Q: What is the best material for a garden tool rack? A: Wood and metal are excellent options for durability and customization. Upcycled materials can also work well.
Q: How can I make my garden tool rack portable? A: Use a rolling cart or add wheels to a DIY rack for easy mobility.
Q: How much does it cost to build a garden tool rack? A: Depending on materials, costs can range from $20 to $100.
Q: Can I use a garden tool rack outdoors? Yes, but ensure it’s made from weather-resistant materials like treated wood or rust-proof metal.
Q: Are magnetic strips strong enough for heavy tools? Magnetic strips work best for holding small, lightweight tools. For heavier items, consider hooks or brackets.
These ideas are sure to inspire your next shed transformation. Which hack will you try first? We’d love to hear your thoughts and tips—share them in the comments below!


1 thought on “Garden Tool Rack: 5 Brilliant Hacks for a Tidy Shed”