Have you ever spent hours on your knees, digging holes one by one, only to realize your bulbs are unevenly spaced or planted too deep? Sound familiar? The right bulb planting tool can turn this back-breaking chore into a quick, enjoyable task. Whether you’re planting a handful of tulips or an entire field of daffodils, having the right tool can make all the difference.
In this guide, you’ll discover everything you need to know about bulb planting tools, from the different types available to expert tips on using them effectively. By the end, you’ll be equipped to plant bulbs like a pro, saving time and energy while ensuring a stunning garden. Let’s dig in!
Table of Contents
Why You Need a Bulb Planting Tool
Planting bulbs by hand can be a tedious and physically demanding task. Without the right tool, you risk uneven spacing, incorrect depth, and sore muscles. A bulb planting equipment simplifies the process, offering precision and efficiency that manual methods can’t match.
Here’s why you need one:
- Speed: Planting bulbs with a dedicated tool is significantly faster than using a trowel or your hands.
- Precision: Tools with depth markings ensure your bulbs are planted at the correct depth for optimal growth.
- Reduced Strain: Say goodbye to back pain and sore hands—many tools are designed to minimize physical effort.
For example, using a bulb auger for drill can reduce planting time by up to 50% compared to manual digging. If you’re serious about gardening, investing in the right tool is a game-changer.
Types of Bulb Planting Tools
Not all bulb planting tools are created equal. Here’s an overview of the most common types to assist you in selecting the best one for your requirements:
Handheld Bulb Planters
- How They Work: These cylindrical tools have a plunger mechanism that removes a core of soil, creating a perfect hole for your bulb.
- Pros: Affordable, easy to use, and portable.
- Cons: Requires bending, which can be tough on your back.
- Best For: Small gardens or gardeners on a budget.
Bulb Augers for Drills
- How They Work: These drill attachments dig holes quickly and efficiently, making them ideal for large gardens.
- Pros: Fast, reduces physical strain, and creates uniform holes.
- Cons: Requires a drill and may struggle in rocky soil.
- Best For: Large gardens or commercial use.
Long-Handled Bulb Planters
- How They Work: These tools have extended handles, allowing you to plant bulbs while standing.
- Pros: Reduces bending and back pain.
- Cons: Less precise and more expensive than handheld options.
- Best For: Gardeners with mobility issues or large planting areas.
Specialized Tools
- How They Work: These multi-functional tools can plant bulbs, dig holes, and even weed.
- Pros: Versatile and cost-effective.
- Cons: May not excel in any single function.
- Best For: Gardeners who want an all-in-one solution.
How to Choose the Right Bulb Planting Tool
Choosing the right bulb planting equipment depends on your specific needs. Here’s what to consider:
- Garden Size:
- Small gardens may only need a handheld planter.
- Large gardens benefit from a bulb auger for drill or long-handled planter.
- Physical Needs:
- If you have back pain or mobility issues, opt for a long-handled tool or a bulb auger for drill.
- Soil Type:
- Heavy or rocky soil may require a heavy-duty auger or specialized tool.
- Budget:
- Evaluate prices and read reviews to discover the best value.
7 Must-Know Tips for Using a Bulb Planting Tool
Using a bulb planting tool can make your gardening tasks faster, easier, and more enjoyable. But to get the most out of your tool, you need to use it correctly. Here are seven expert tips to help you plant bulbs like a pro:
1. Prepare the Soil Before Planting
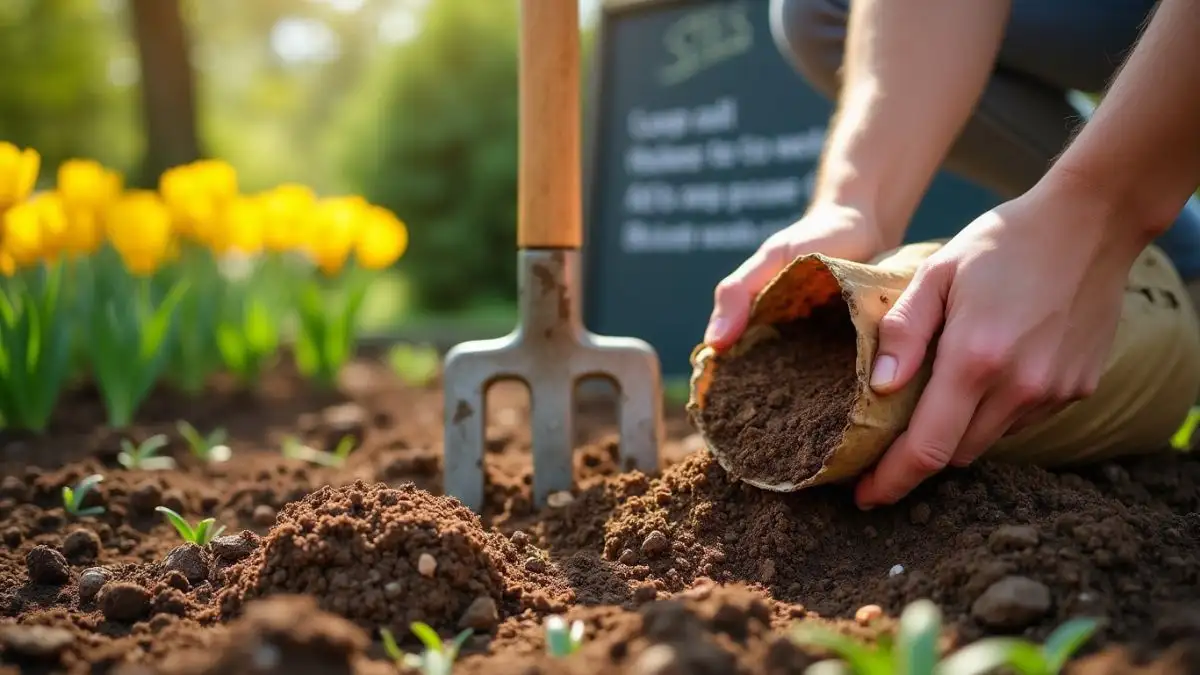
Before you begin planting, dedicate some time to preparing your soil. Loose, well-drained soil makes it easier for your bulb planting tool to create clean, uniform holes.
- How to Do It: Use a garden fork or tiller to loosen the soil to a depth of at least 8–12 inches. Remove any rocks, weeds, or debris that could interfere with planting.
- Why It Matters: Properly prepared soil ensures better root growth and prevents bulbs from sitting in waterlogged conditions, which can cause rot.
- Example: If you’re planting tulips, loosen the soil and mix in some compost to improve drainage and nutrient content.
2. Measure Depth for Consistent Planting
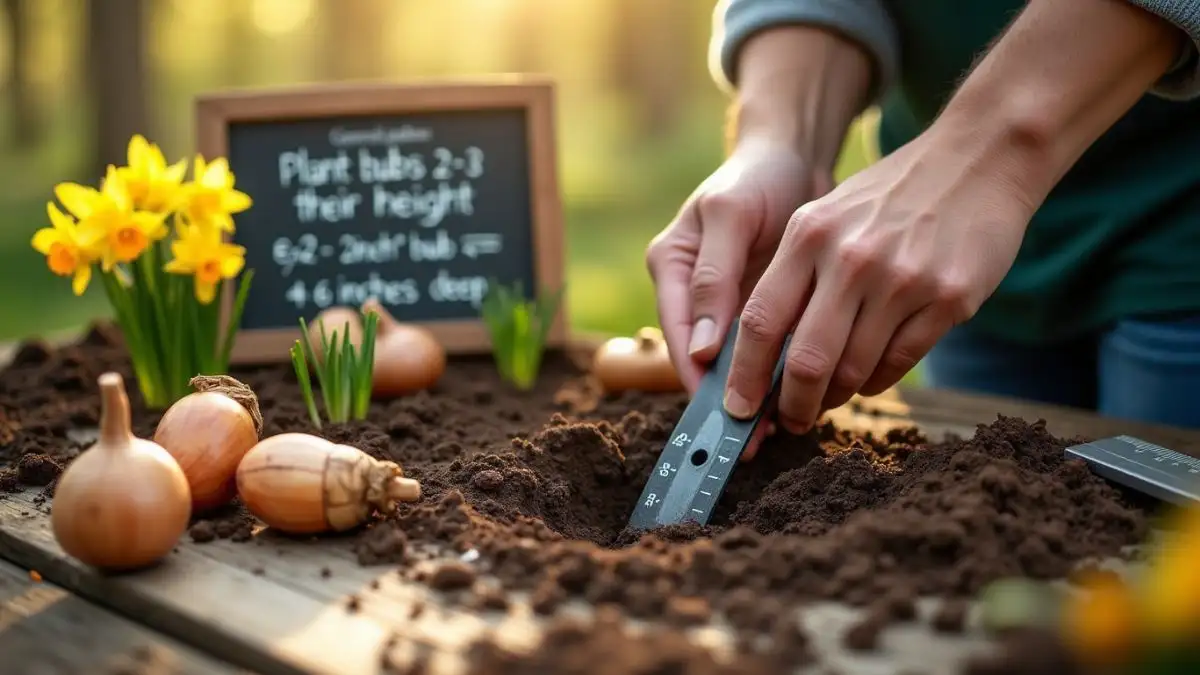
One of the biggest advantages of using a bulb planting equipment is the ability to plant bulbs at the correct depth. Most tools come with depth markings to guide you.
- How to Do It: Check the planting instructions for your specific bulbs. As a general guideline, plant bulbs at a depth of 2–3 times their height. For instance, if a bulb is 2 inches tall, plant it 4–6 inches deep.
- Why It Matters: Planting at the right depth ensures proper root development and protects bulbs from extreme temperatures.
- Example: Daffodils typically need to be planted 6–8 inches deep, while smaller bulbs like crocuses only need 3–4 inches.
3. Space Bulbs Properly for Optimal Growth
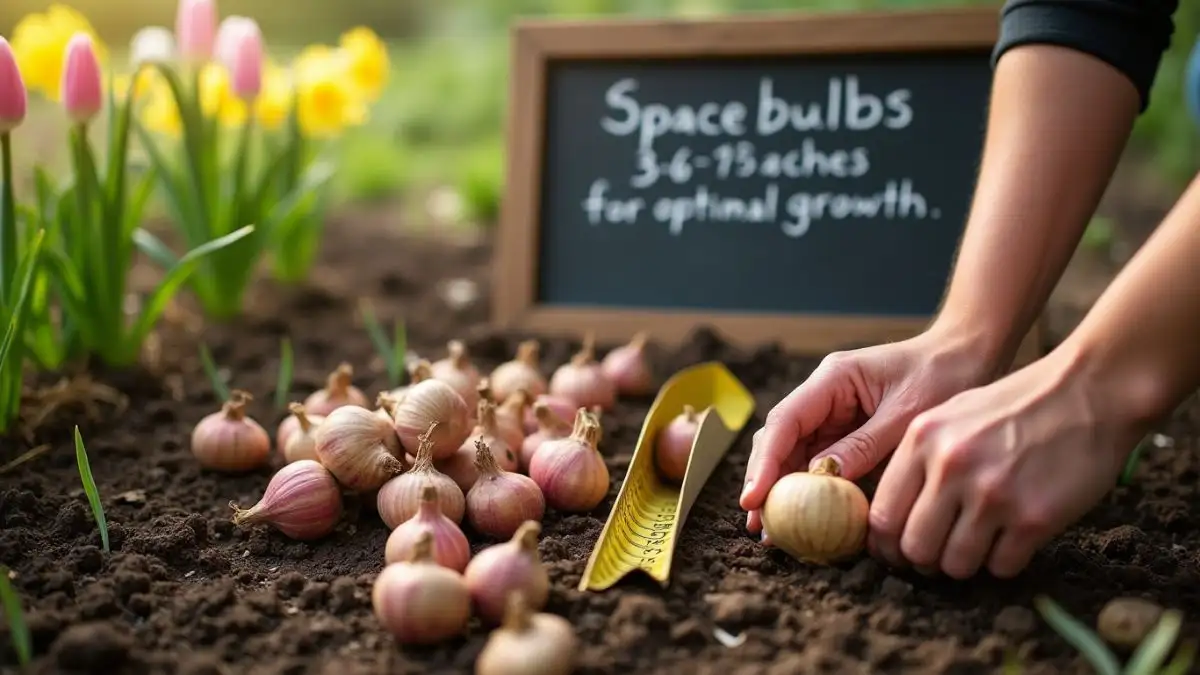
Spacing is just as important as depth when planting bulbs. Overcrowded bulbs compete for nutrients and sunlight, leading to poor growth.
- How to Do It: Follow the spacing guidelines on the bulb packaging. Most bulbs need to be planted 3–6 inches apart. Use a measuring tape or mark your bulb planting tool to ensure consistent spacing.
- Why It Matters: Proper spacing allows each bulb to grow without competition, resulting in healthier plants and more vibrant blooms.
- Example: When planting hyacinths, space them 6 inches apart to give their large, fragrant flowers room to shine.
4. Use a Bulb Auger for Drill for Large Areas
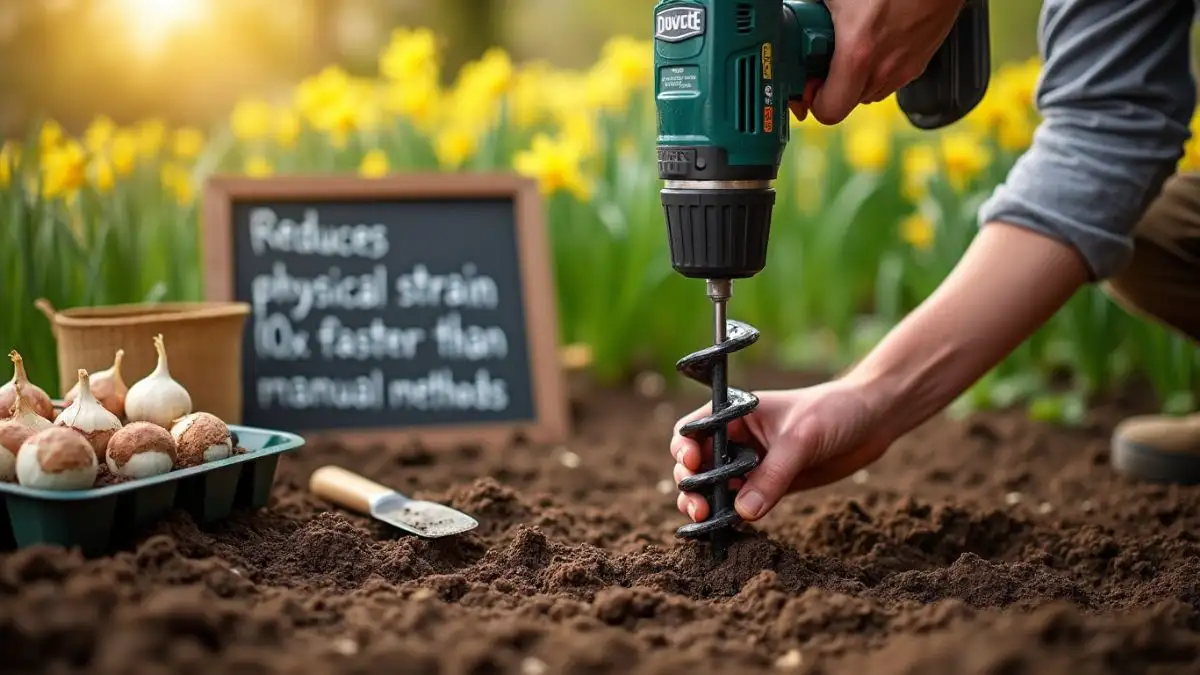
If you’re planting a large number of bulbs, a bulb auger for drill can save you hours of work. These tools attach to a standard power drill and dig holes quickly and efficiently.
- How to Do It: Attach the auger to your drill, set the desired depth, and start drilling. Place the bulbs into the holes and fill them with soil.
- Why It Matters: A bulb auger for drill reduces physical strain and allows you to plant bulbs up to 10 times faster than manual methods.
- Example: If you’re planting 100 daffodils in a large garden bed, a bulb auger can cut your planting time from hours to just 20–30 minutes.
5. Clean Your Tool After Each Use
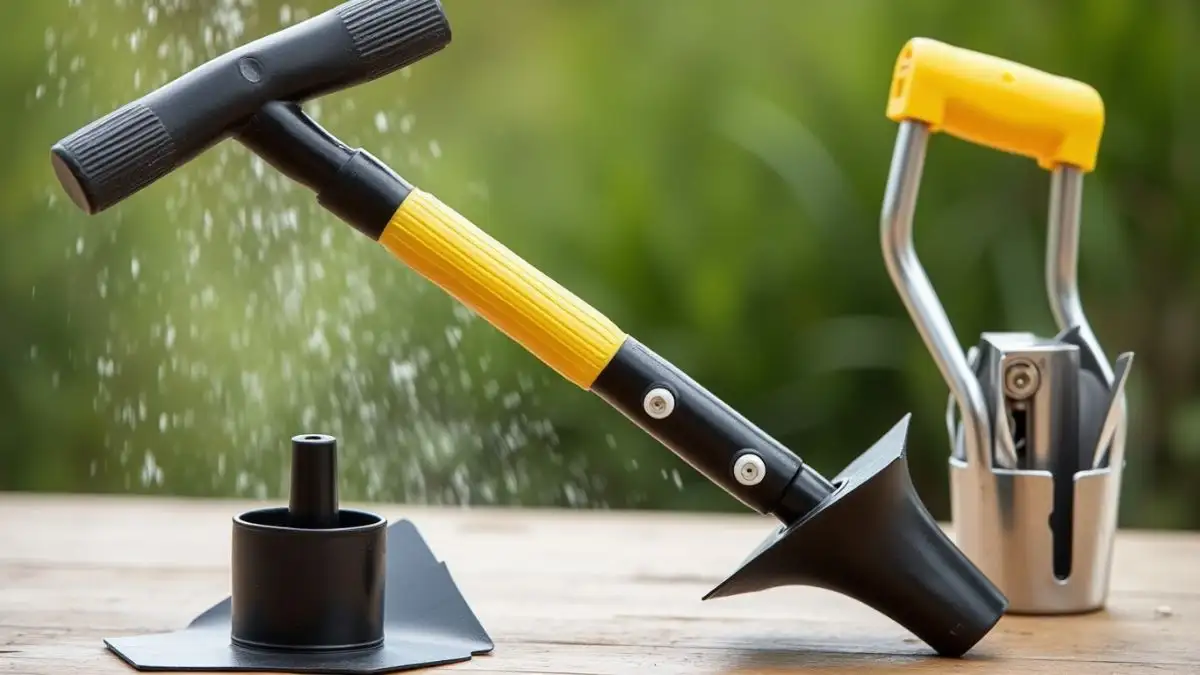
Keeping your bulb planting tool clean is essential for maintaining its performance and longevity.
- How to Do It: Rinse the tool with water to remove dirt and debris. Dry it thoroughly to prevent rust. For metal tools, apply a light coat of oil to protect against corrosion.
- Why It Matters: Regular cleaning prevents rust and ensures your tool works smoothly for years to come.
- Example: After planting a batch of tulips, rinse your handheld bulb planter and store it in a dry place.
6. Store Your Tool Properly
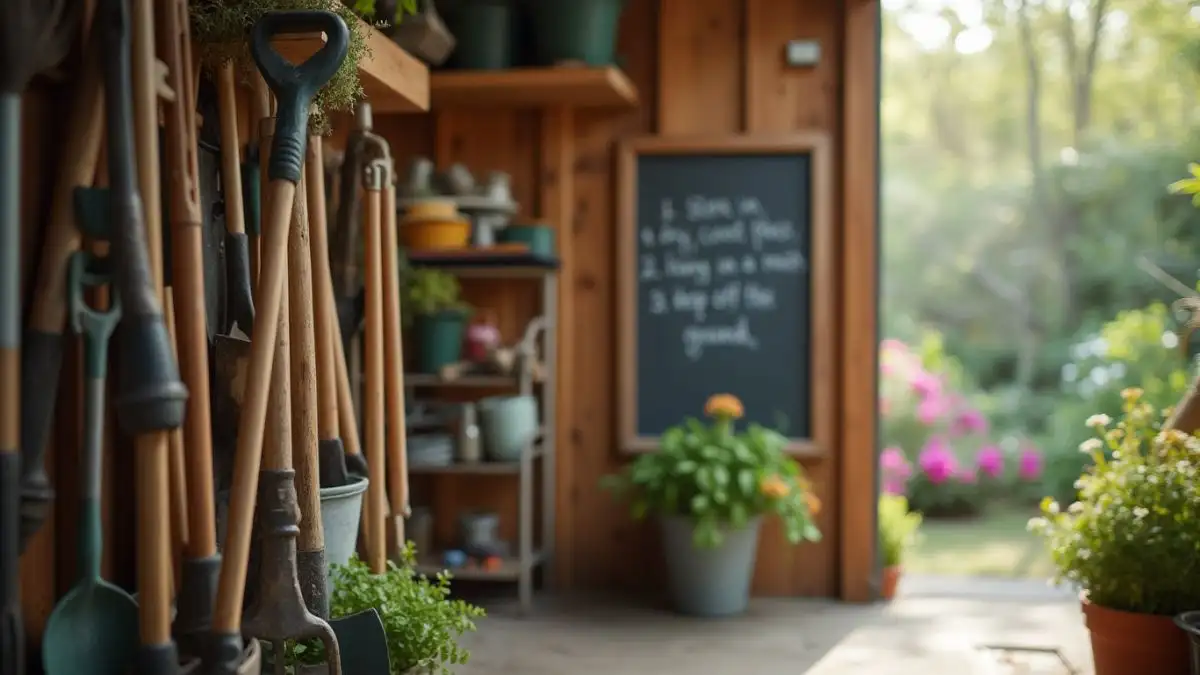
Proper storage is key to extending the life of your bulb planting tool.
- How to Do It: Store your tool in a dry, cool place, such as a garden shed or garage. Hang it on a hook or place it in a toolbox to prevent damage.
- Why It Matters: Storing your tool properly protects it from the elements and reduces the risk of rust or breakage.
- Example: If you have a long-handled bulb planter, hang it on a wall rack to keep it off the ground and out of harm’s way.
7. Experiment with Different Tools
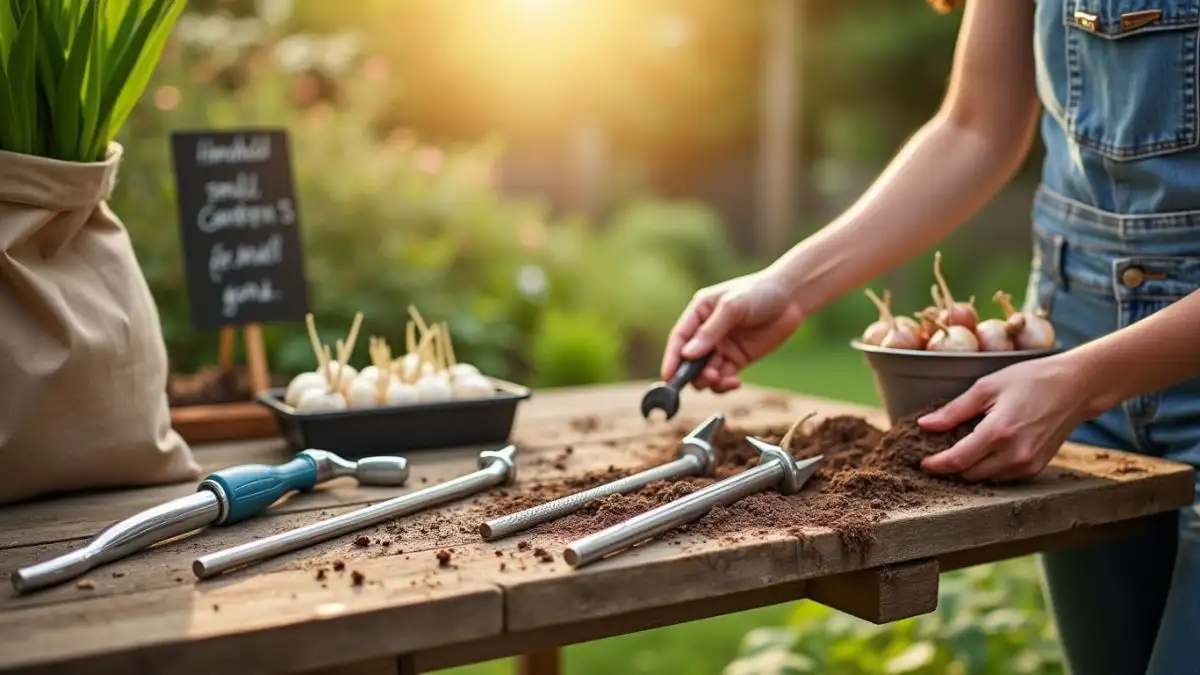
Not all bulb planting equipments are created equal, and what works for one gardener may not work for another. Don’t be afraid to try a few options to find the one that suits your needs.
- How to Do It: Start with a basic handheld bulb planter for small gardens. If you have a larger area or physical limitations, try a bulb auger for drill or a long-handled planter.
- Why It Matters: Experimenting with different tools helps you find the most efficient and comfortable option for your gardening style.
- Example: If you find bending difficult, a long-handled bulb planter or a bulb auger for drill can make planting much easier.
Bonus Tip: Label Your Bulbs
After planting, it’s easy to forget where you placed each type of bulb. Use plant markers or labels to keep track of what you’ve planted and where.
- How to Do It: Write the name of the bulb and the planting date on a waterproof label. Place it in the soil next to the planted bulbs.
- Why It Matters: Labeling helps you monitor growth and plan for future seasons.
- Example: If you’ve planted a mix of tulips and daffodils, labeling ensures you know which areas will bloom in spring.
Common Mistakes to Avoid When Using a Bulb Planting Tool
Even with the best bulb planting tool, mistakes can happen. Avoid these common pitfalls:
- Planting Too Deep or Too Shallow: Follow depth guidelines for each type of bulb.
- Ignoring Soil Preparation: Loosen the soil before planting to ensure proper root growth.
- Using the Wrong Tool: Match the tool to your garden size and soil type.
- Forgetting Maintenance: Clean and store your tool properly to extend its lifespan.
Benefits of Using a Bulb Auger for Drill
If you’re planting a large number of bulbs, a bulb auger for drill is a must-have. Here’s why:
- Speed: Plant bulbs up to 10 times faster than manual methods.
- Efficiency: Ideal for large gardens or commercial use.
- Reduced Strain: Minimizes bending and back pain.
- Uniform Holes: Ensures consistent depth and spacing for better growth.
DIY Bulb Planting Hacks
Don’t have a bulb planting tool? Try these hacks:
- Use a wine corkscrew for small-scale bulb planting.
- Repurpose an old spoon or trowel for digging holes.
- Combine tools for multi-tasking (e.g., use a bulb auger for weeding).
How to Maintain Your Bulb Planting Tool
To keep your tool in top condition:
- Clean it after every use to avoid rust.
- Sharpen blades or edges regularly for optimal performance.
- Keep in a dry, cool location to prevent damage.
Conclusion
Planting bulbs doesn’t have to be a chore. With the right bulb planting equipment, you can save time, reduce physical strain, and ensure a stunning garden. Whether you choose a handheld planter, a bulb auger for drill, or a long-handled tool, the key is to find the one that works best for you.
Ready to transform your gardening experience? Pick up a bulb planting tool today and see the difference it makes. Share your favorite tips and tools in the comments below—we’d love to hear from you!
FAQ Section
- What is the best bulb planting tool for beginners?
- A handheld bulb planter is simple, affordable, and perfect for beginners.
- Can I use a bulb auger for drill in rocky soil?
- Yes, but choose a heavy-duty auger designed for tough conditions.
- How deep should I plant bulbs?
- Most bulbs should be planted 2–3 times their height. Check the packaging for specific guidelines.
- What’s the difference between a bulb planter and a bulb auger?
- A bulb planter is handheld, while a bulb auger attaches to a drill for faster planting.
- Do I need to clean my bulb planting tool?
- Yes, cleaning prevents rust and ensures your tool lasts longer.
- Can I use a bulb planting tool for other plants?
- Some tools are versatile and can be used for small plants or seedlings.
- Where can I buy a quality bulb planting tool?
- Check garden centers, hardware stores, or online retailers like Amazon.
- How do I know if my soil is ready for planting?
- Loosen the soil and ensure it’s well-drained. Test the pH if necessary.
- What’s the best time to plant bulbs?
- Plant spring-flowering bulbs in fall and summer-flowering bulbs in spring.
- Can I use a bulb auger without a drill?
- No, a bulb auger requires a drill to function.
This comprehensive guide provides everything you need to know about bulb planting tools and how to use them effectively. By following these tips and recommendations, you’ll be well on your way to creating a stunning, healthy garden. Happy planting!


